Knitting has been a beloved craft for centuries, with enthusiasts constantly seeking ways to enhance their experience. Enter Kollage Square Knitting Needles, a revolutionary product that has taken the knitting world by storm. In this blog post, we'll explore what makes these needles so special and why they are garnering a dedicated following among knitting enthusiasts.
One of the standout features of Kollage Square Knitting Needles is the enhanced comfort and control they offer. The square shape allows for a more natural grip, promoting a relaxed hand position. This ergonomic advantage not only makes knitting more comfortable but also enhances precision in stitchwork. With greater control over each movement, knitters can achieve more consistent tension and create polished, professional-looking projects.
In addition to their functional benefits, Kollage Square Knitting Needles also boast an aesthetically pleasing design. The sleek, modern appearance of these needles adds a touch of sophistication to your knitting toolkit. Moreover, the durability of these needles ensures that they stand the test of time, making them a worthwhile investment for any avid knitter.
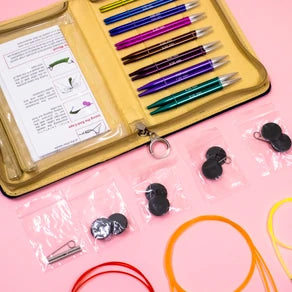
1. Kollage Square Circular Knitting Needles:
Circular needles are a staple for many knitters, and Kollage Square doesn't disappoint. These circular needles come with the option for either a soft or firm cable, something I have not seen before in any other brands! We stock both fixed circulars and interchangeables.


2. Kollage Square Double-Pointed Needles:
Say goodbye to those pesky ladders in your sock knitting! Kollage Square Double-Pointed Needles are a game-changer for small circumference projects. The square design prevents your stitches from slipping off and gives you the confidence to tackle intricate patterns with ease.


3. Kollage Square Interchangeable Needle Set:
If you're a knitting enthusiast who loves variety, the interchangeable needle set is a must-have. These sets include a range of needle sizes and cable lengths, allowing you to customise your needle length based on your project.


4. Kollage Square Straight Needles:
For those who prefer the simplicity of straight needles, Kollage Square offers a fantastic range. These needles are perfect for scarves, shawls, and other flat projects.


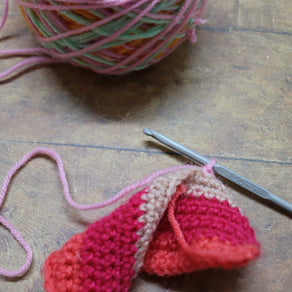
5. Kollage Square Crochet Hooks:
The square profile provides a unique feel in hand, promoting a comfortable grip and facilitating a more intuitive crocheting experience. The smooth surface of the hooks ensures a seamless interaction with different yarn textures, allowing crafters to explore various materials with confidence. Available in both rounded and pointed tip options.


Kollage Square Knitting Needles have undeniably redefined the knitting experience. From their ergonomic design to the smooth knitting surface and versatility with different yarns, these needles cater to the needs of both beginners and experienced knitters alike. As the knitting community continues to evolve, Kollage Square Knitting Needles stands as a testament to the power of innovation in enhancing the timeless art of knitting. So, whether you're a seasoned pro or a novice looking to elevate your craft, consider making the switch to Kollage Square Knitting Needles and embark on a new era of knitting excellence.
Happy Square Knitting,
Rosie x